


I know in the U.S. Walmart sells the kraft CD cases already made, but in Canada, they don't :( So I made up my own..
Materials Needed:
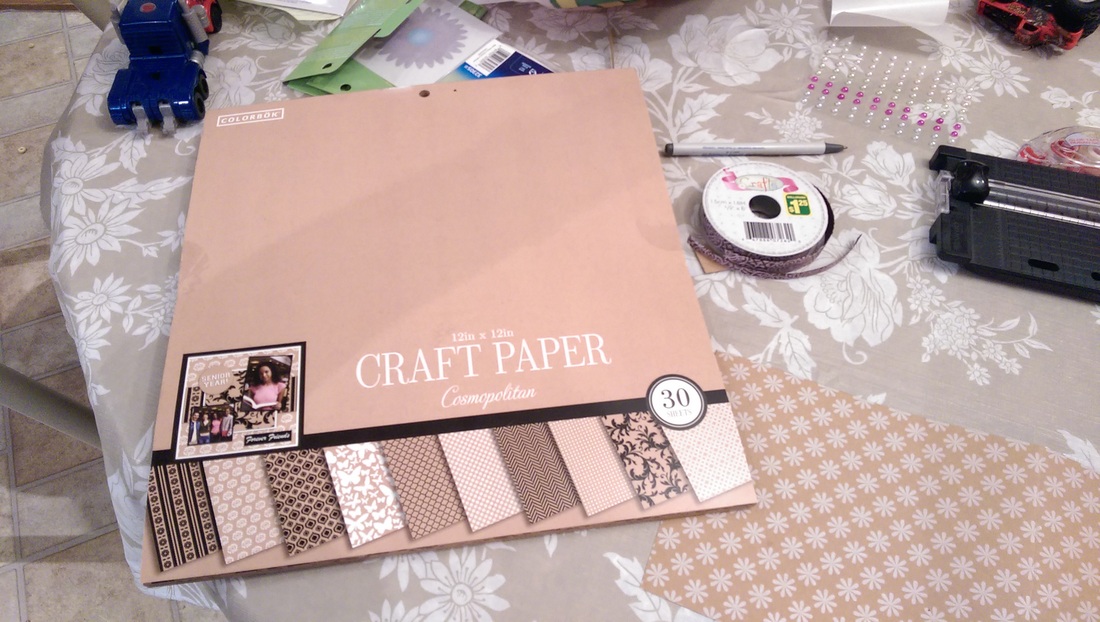
-1 Pad 12x12 Kraft Scrapbook paper (mine was around $5 for 30 sheets and I can get 60 cases out of one pad! Score!)
-Scissors
- 1/4 inch double sided tape
-velcro dots
-ruler
-whatever embellishments you want
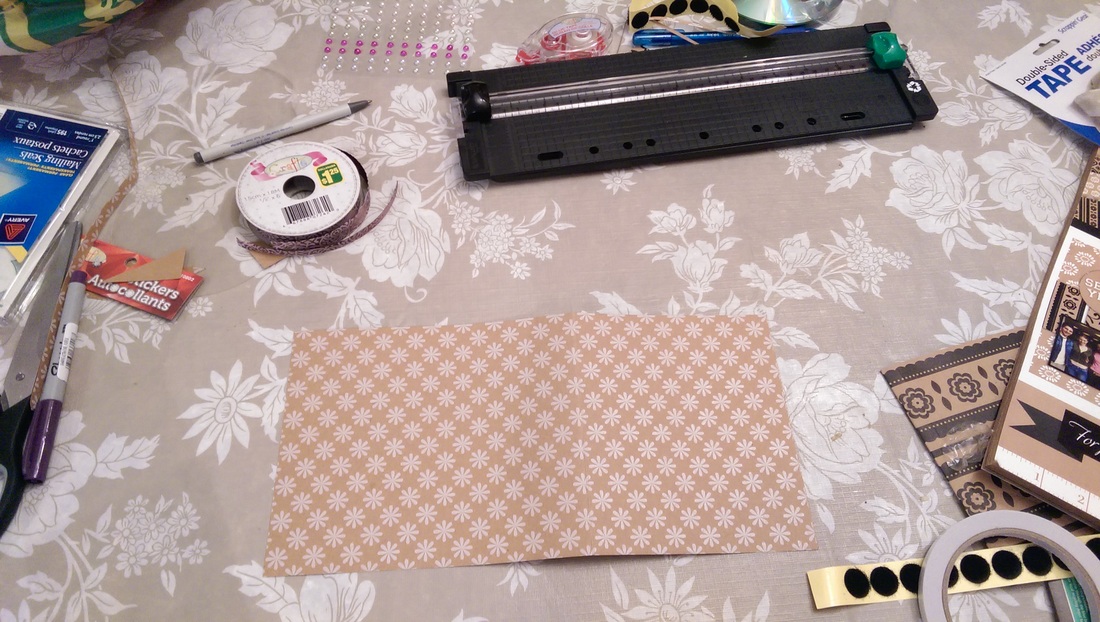
Step 1- Take one sheet of scrapbook paper and cut it in two so you have a 12inx6in piece. This will be enough for one CD case.
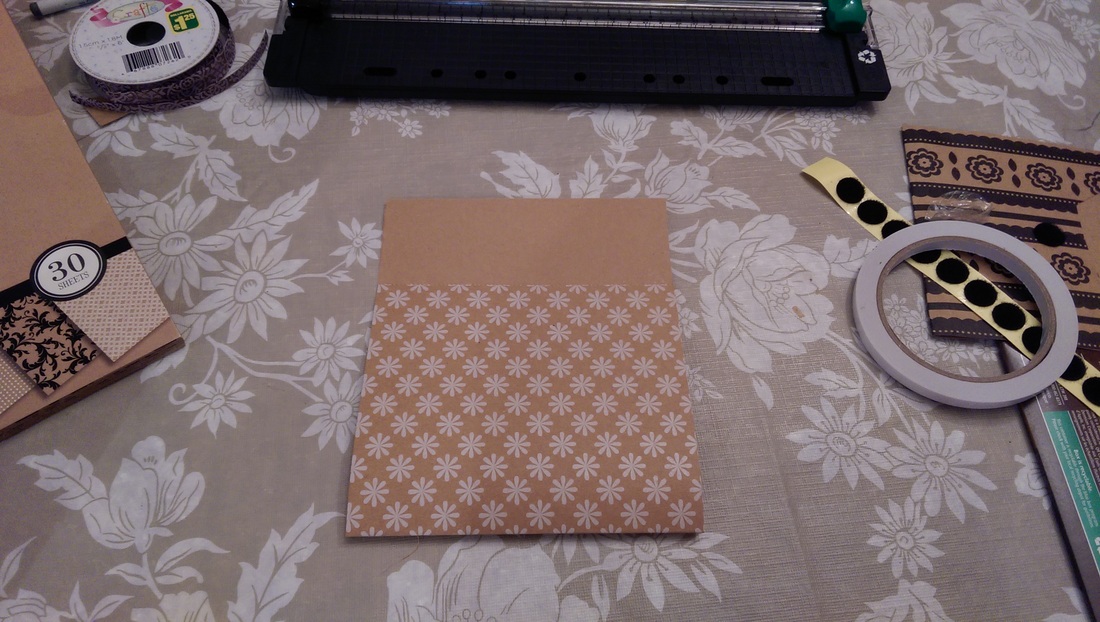
Step 2- Measure 5 inches and fold up toward the top. This will create your pouch for the CD and the remaining 2 inches fold down for your flap.
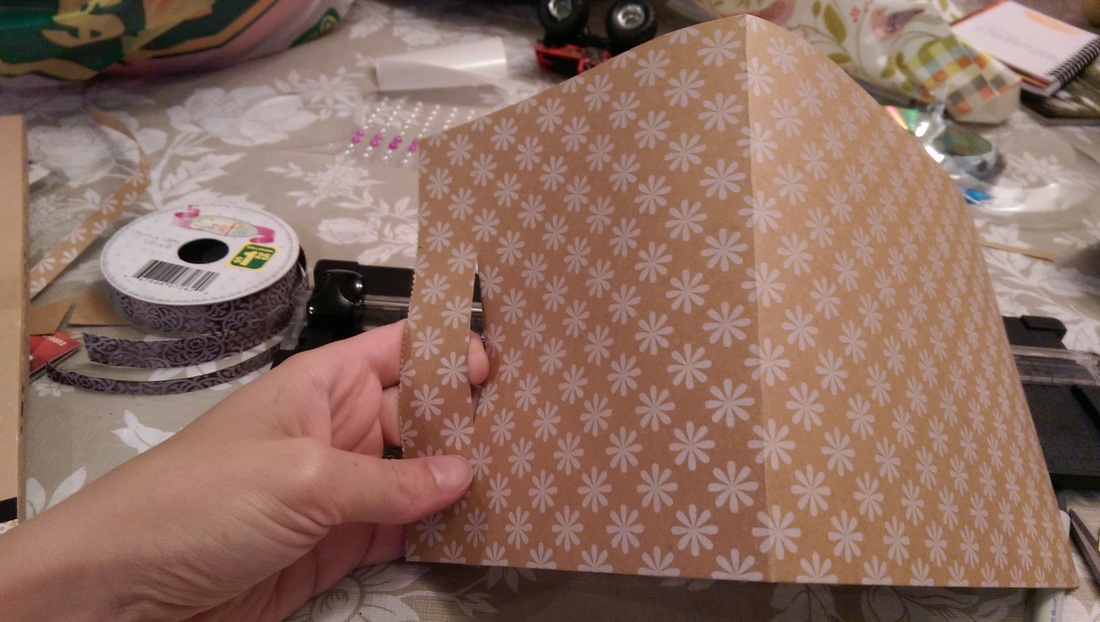
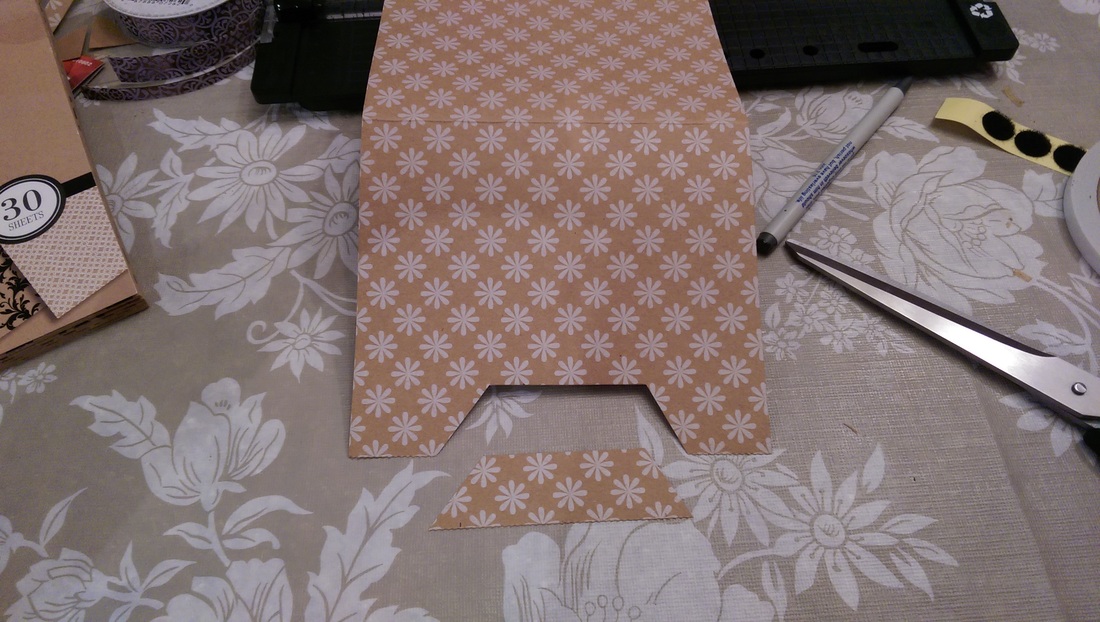
Step 3- Cut a slit about an inch from the bottom of your 5 inch portion and taper to create a pull-out spot to grab your cd
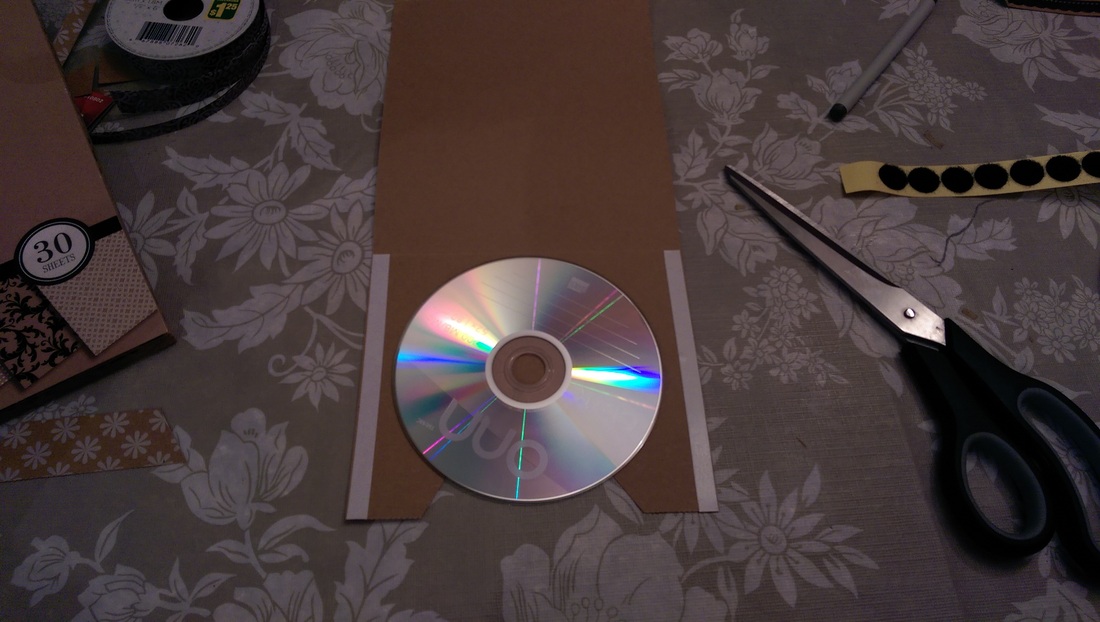
Step 4- Use 1/4 inch double sided tape down both sides right along the edge of the 5 inch portion of the case. Place a blank CD in between to ensure that the cd will fit between the taped edges.
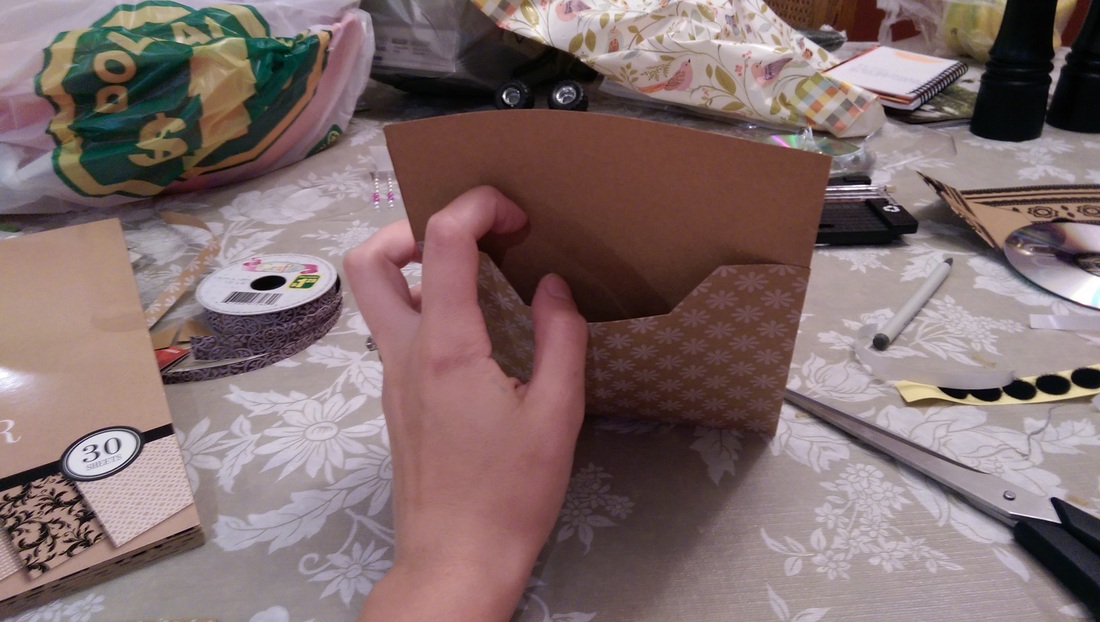
Step 5- Fold the 5 inch bottom of the case up and press very firmly along the edges to adhere the tape.
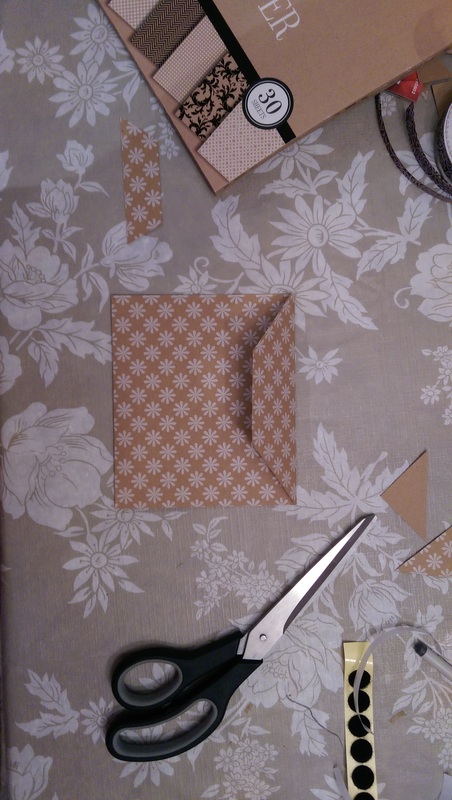
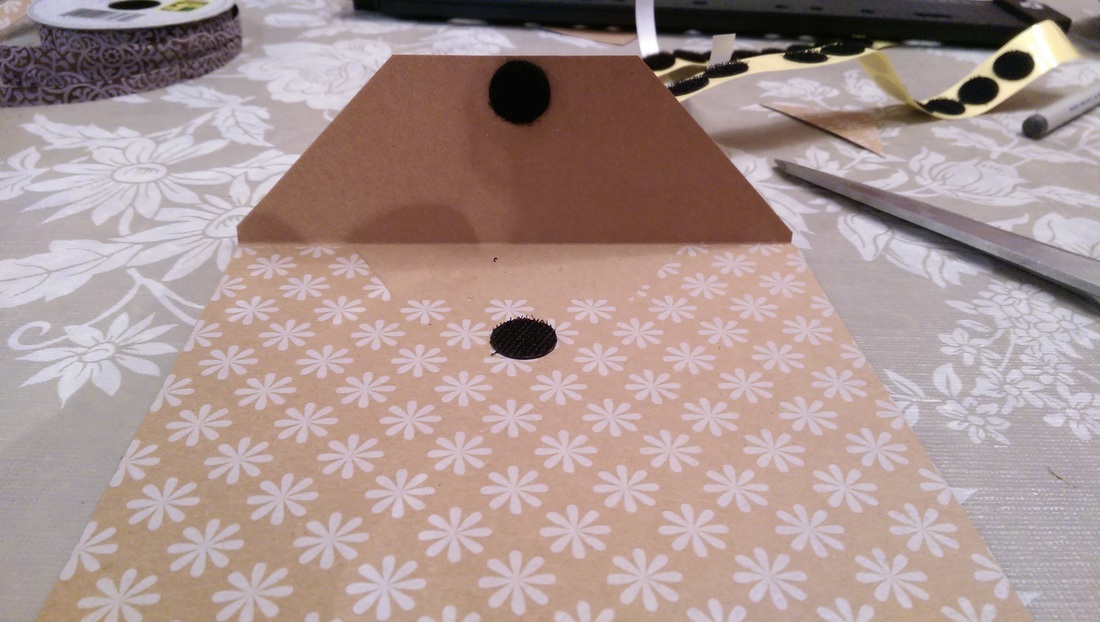
Step 6- Fold over the remaining 2 inches at the top to create a flap. I cut the corners off of my flap just to create some interest, but it's not necessary.
Step 7- Position your velcro dots on the flap and case. (To make it easier to position, stick both velcro dots together first and place on the flap and press the flap down onto the case. Then you don't have to worry about them lining up) Close the flap, which should make the velcro stick together and press very hard to adhere the adhesive on the back of the velcro.
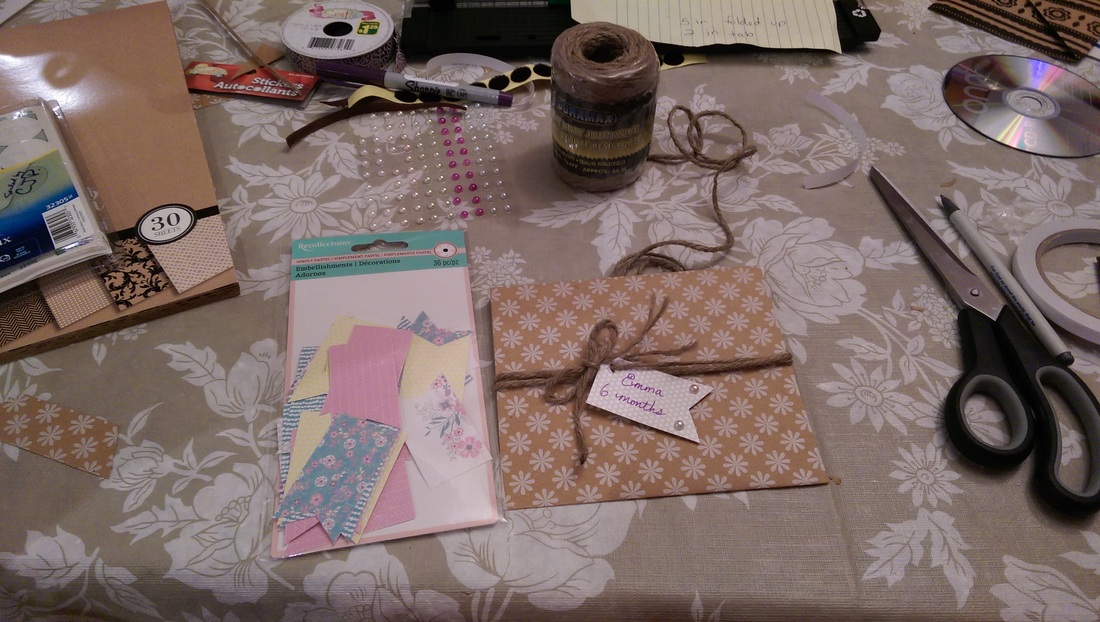
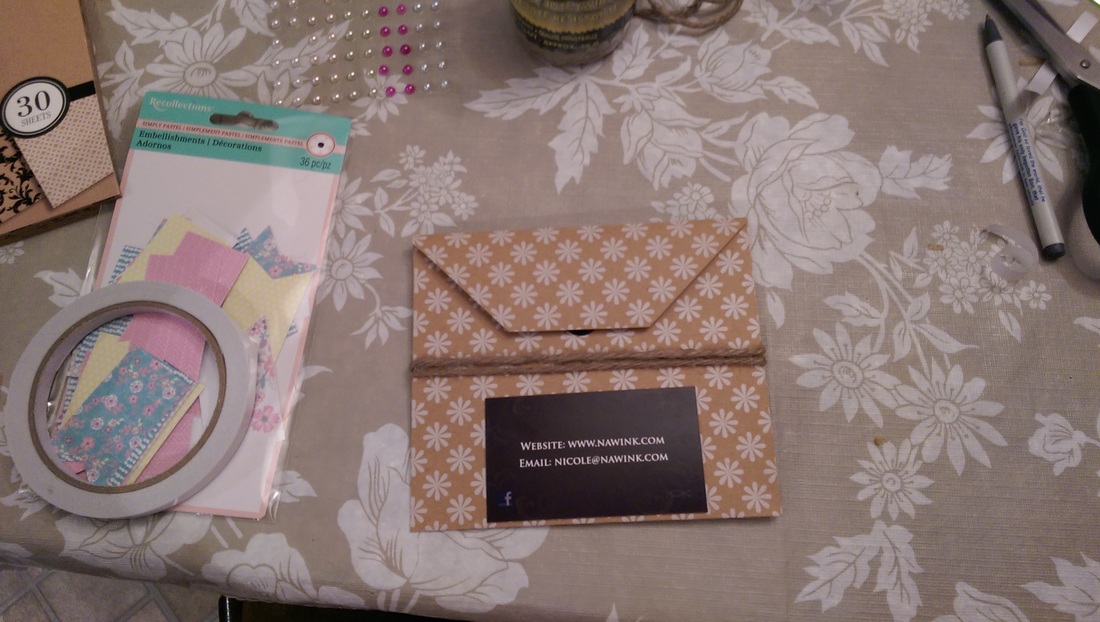
Step 8 - Add embellishments to complement your studio branding. I didn't have my printer up and running to make labels, so I just used double sided tape on my business cards.
And there you have it! 60 CD cases for about $7 including all the other materials which equals about $0.12 per case!
Materials Needed:
-1 Pad 12x12 Kraft Scrapbook paper (mine was around $5 for 30 sheets and I can get 60 cases out of one pad! Score!)
-Scissors
- 1/4 inch double sided tape
-velcro dots
-ruler
-whatever embellishments you want
Step 1- Take one sheet of scrapbook paper and cut it in two so you have a 12inx6in piece. This will be enough for one CD case.
Step 2- Measure 5 inches and fold up toward the top. This will create your pouch for the CD and the remaining 2 inches fold down for your flap.
Step 3- Cut a slit about an inch from the bottom of your 5 inch portion and taper to create a pull-out spot to grab your cd
Step 4- Use 1/4 inch double sided tape down both sides right along the edge of the 5 inch portion of the case. Place a blank CD in between to ensure that the cd will fit between the taped edges.
Step 5- Fold the 5 inch bottom of the case up and press very firmly along the edges to adhere the tape.
Step 6- Fold over the remaining 2 inches at the top to create a flap. I cut the corners off of my flap just to create some interest, but it's not necessary.
Step 7- Position your velcro dots on the flap and case. (To make it easier to position, stick both velcro dots together first and place on the flap and press the flap down onto the case. Then you don't have to worry about them lining up) Close the flap, which should make the velcro stick together and press very hard to adhere the adhesive on the back of the velcro.
Step 8 - Add embellishments to complement your studio branding. I didn't have my printer up and running to make labels, so I just used double sided tape on my business cards.
And there you have it! 60 CD cases for about $7 including all the other materials which equals about $0.12 per case!

 RSS Feed
