http://www.nawink.com/blog/for-photographers-maternity-gown-props
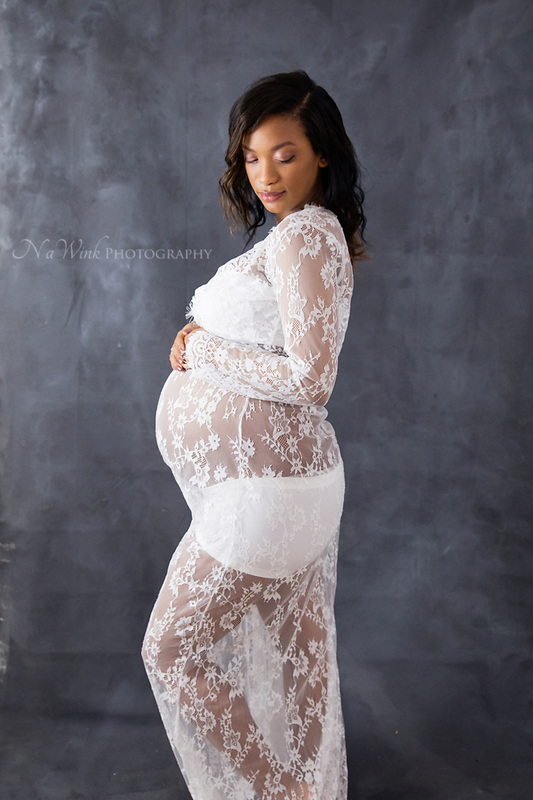
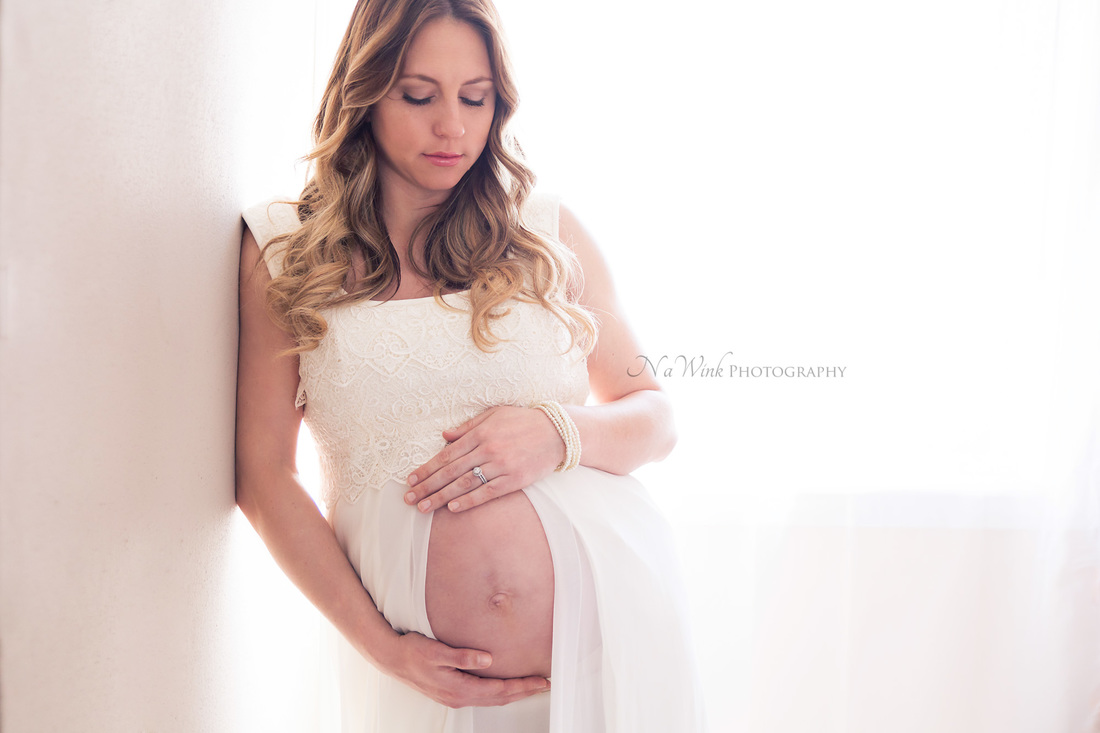
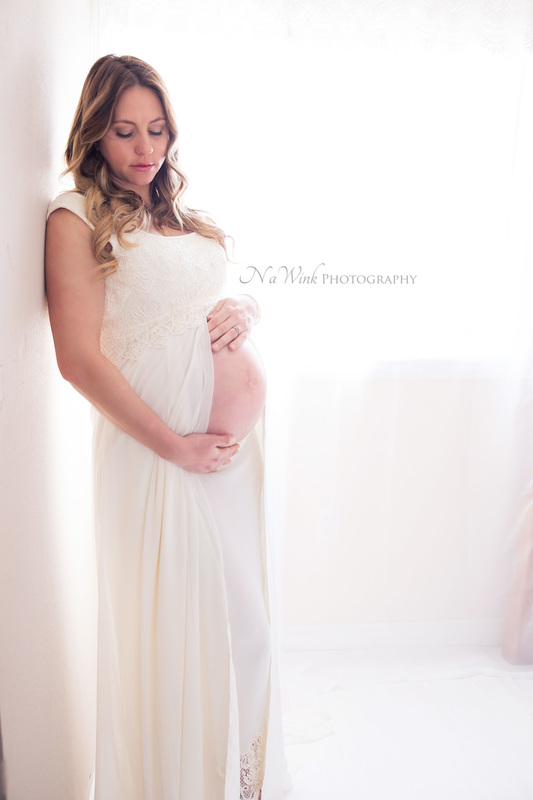
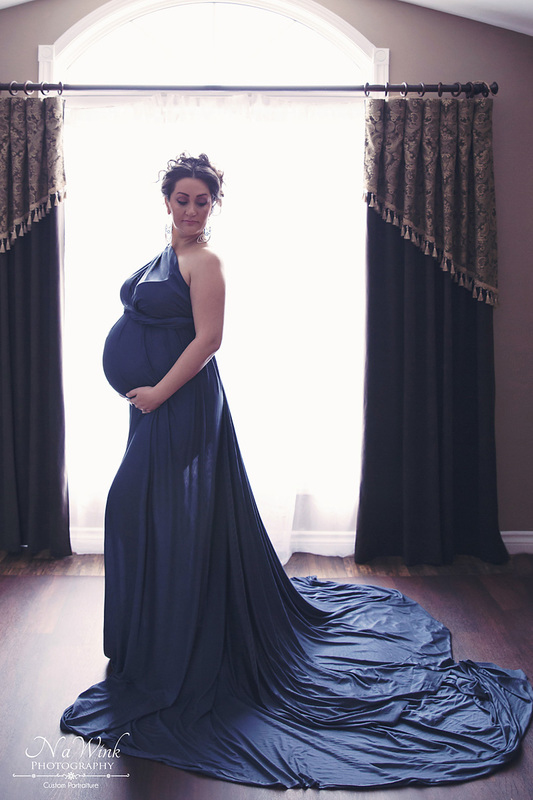
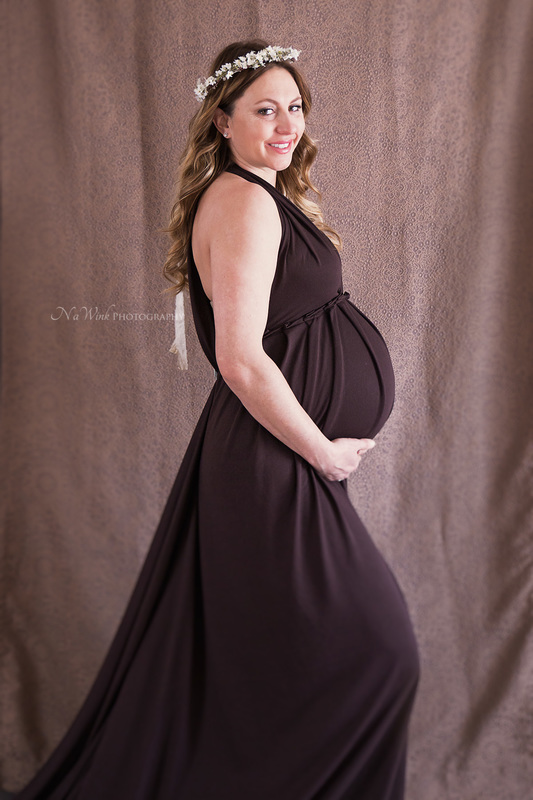
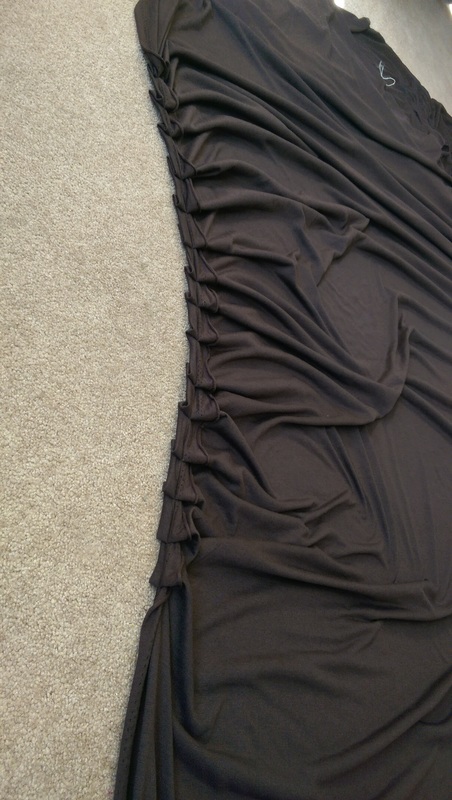
If you're wondering where I purchase my "Not DIY" maternity gowns, my blog post on my website has some good links for you to check out :)
http://www.nawink.com/blog/for-photographers-maternity-gown-props
0 Comments
I found this gown at a second hand wedding dress shop and I knew it would make the most beautiful maternity gown! And I was right! It already had a long flowy train that parted down the middle so I just did some alterations to the front and made the base split down the centre. I started by cutting the middle layer/panel out because it wasn't going to fall right once I split the centre. I ended up making the middle panel into a slip to go under the dress so it wouldn't show any leg for a more modest gown. I also took the lace edging off the bottom. I still haven't decided what to do with that part! :P After I cut the split, I hemmed the edges. I also had to make a few alterations to the back near where the zipper was because I wanted to make it able to fit a wider variety of maternity clients.
I've had two wedding dresses that I've transformed into maternity gowns.. but that takes some imagination and a little bit of sewing skills ;) This first one is from a vintage wedding dress from the '70's or '80's I'm assuming. I re-designed the neckline and shortened the sleeves. I also put in a corset style lace up back so I could adjust it to different sized models. (Even though I made it adjustable, it still only fits up to a size 8 because the dress was so tiny in the first place)
I don't use a traditional beanbag for my newborn sessions, I've always used the bed in my studio because I never had the space for a posing beanbag. (My studio doubles as a guest room so we can't get rid of the bed. Plus I use it for my maternity portraits.) First you will have to measure how tall your bed is from the floor to top of the mattress. Mine was 27" INCLUDING the joints. So my actual cut length of pvc was about 25 inches, allowing for 1 inch for each joint. I bought three 8ft lengths of pvc and that was good for my bed. My measurements are just a guideline, as not all beds are the same height. For the joints, you will need 2 "T" joints and 6 Corner joints. You can also get pvc glue if you want your joints to be permanent. I needed mine to be easy to take apart and store under the bed so I didn't glue mine. ****BLOG UPDATE**** Since I built my stand, I also have made a custom sized beanbag to sit on the bed. Beanbag dimensions- 48 inches by 48 inches. I just used scrap fabric I had kicking around. (finished product ends up being a bit narrower once filling is in) Infinity gowns are great for maternity.. low cost, various wearing styles, and they're one size fits all! What you need: Approx 6 meters (around 6.5 yards) jersey or cotton stretch fabric. (If you want longer straps, get around 7 meters) matching thread sewing machine Step #1 Cut your straps along the width of the fabric about 12 inches wide. Most fabric width is 52", but feel free to make your straps longer to get more variety with the styles. On my blue gown I made the straps closer to 72 inches long and that was good too. Step 2 -Run a quick hem down the one side of your fabric (I only hemmed the part I was going to put pleats in) Take your long length of fabric and find the halfway point. Pin pleats so your pleated length is around 24" (It doesn't have to be exact) Sew the pleated part on your sewing machine Step 3- take the straps you cut previously and hem the sides that are going to be at the neckline. If you want, you can definitely do both sides, but the other side is going to be hidden by the arm and it curls under so you should have no problem having a raw edge. I didn't hem the neckline on my blue gown because the fabric was a bit different than my brown one, but the brown fabric didn't curl as nicely as the blue so I made the neckline area nice and neat. Step 4- Overlap the next strap by about 6 inches. With the blue gown I made the mistake of only overlapping about 2 inches.. and now I have to make sure the moms are wearing a bra/bandeau underneath with some styles. Final step- sew your straps to the pleated part of the gown and you're done! I leave the back open and just pin it so it fits every size. The train is quite long as well, so it looks really pretty :) For a link to see different ways to wear infinity gowns, go to http://watters.com/infinity-dress.html or search pinterest for more ideas!
Materials Needed: -10 pieces of 6" pine fence board in 8 foot lengths from Home Depot sawed in half -Dark Walnut Stain -Clear Matte spray (optional) -White or off White flat paint -2 double utility hooks -1 shower curtain rod *expandable* Wood Cost - Aprrox $40 (plus paint and stain) Instructions: Paint stain on one side of boards and let dry. Then paint 2 coats white paint on opposite side. If there is a bit of a glare to the stained side, then use the matte spray. To mount it to the wall, I just used double utility hooks and a shower curtain rod. that way I can swap the colours out when I need to and not worry about them falling over on the baby :) Items Needed: -Sheer Drapery Panel (or whatever you want as an under garment) I got mine from dollarama for $3 -Tulle (Im not exactly sure how much I had for this one.. I'm assuming around 15 metres...) -Ribbon -Sewing machine -Pins Fold over the long edge of the drapery panel and sew to create a "hem" that is wide enough to thread a ribbon or string through. ( I made mine about 3 inches which could've been wayyyy smaller! ) I used the 52" wide tulle and cut a bunch of 2 ft sections. Measure how long you want your skirt to be and layer your tulle down the length of your panel. ******this would work better if you cut your tulle the opposite way I did and made your tulle touch the ground on both sides of your panel, so cut longer sections that would be 52" wide.. if that makes sense. If you have questions, just email me at [email protected]**** Keep layering your sections until you've completed the length Pin your tulle to your panel and sew along the top of your panel. Now flip it over and start laying down your layers on your "backside" (no, I don't mean your butt!) Once your other side is pinned down, sew along the top edge again. Just make sure you still have room to thread your ribbon. Now take a large safety pin and attach your ribbon. Now fish your ribbon through, then put it on and twirl around!
I still need to get a photo of someone modeling this one for me, so I don't have a good photo of it yet. However, it is not nearly as full as the previous tulle skirt I made. You can see it hanging in this photo Difficulty Level - HardThis skirt took a lot of tulle, time, and torture. Well.. not really torture lol! Items Needed: 55 Meters of 52" wide tulle A size large slip (I got mine from a thrift store for $3) Sewing Machine Needle and Thread Safety Pins or sewing pins I used a size large slip so that it had lots of stretch in it, then I put it on and measured how long I wanted it to be. I am 5 ft 6 inches and from the waist to the floor it was 43 inches long from waist to my toes. Then I made marks on the slip so I knew where my layers would be. The top was 43", middle mark was 32" and bottom was 23" I started pinning my 23 inch pieces around the bottom mark Then I cut my 32 inch pieces and pinned around the middle mark (and my daughter likes to pose as you can tell...) Middle Layer done! Now comes the hard part! stretch your waistband around something that you wont move too much. I used an 11x14 frame. I wanted the top part to not show the stitching so I did the pinning from the underside. Pin around the whole band of the slip. ***** I forgot to take a picture of this step***** - You have to use two layers for the top layer around the waistband because one layer isn't thick enough and you can see through it. Start sewing your layers to the slip. I just sewed by hand the under layers but I used the sewing machine for the very top layer. and there you have it! If you like the look of ribbon or elastic, it would be quite simple to add one to the waist.
In case you haven't noticed, i love the rustic looking props and i decided to take a stab at making my own log bed for newborns. First I started with a slab of wood (that happened to be in my in-laws firewood pile) that was about 13 inches diameter and i cut it to be 24 inches long. Then for the legs, I cut four pieces of my "mini logs" into 6 inch sections to make the 4 legs for the bed. I then attached the base to the legs and screwed it all down. I only used one screw per leg at this point so i could twist the legs and make it level. After I got the legs level then I reinforced them with another couple screws. This is the Foot-Board. I had two small pieces about 3 inches high that I screwed on to the base first, then I attached the top part with loooong screws. ( I think they were 4 inch screws) You can see the head-board to the right of the bed in the above picture that I had assembled before attaching it to the head of the bed. The bed headboard was made of 4 log pieces. I assembled three pieces first and attached it to the base but then I thought it looked a bit off balance with the foot board so I added a top piece to the headboard and made it the same length as the top of the foot board. see the finished headboard above. :) After everything was really secure and tight, I used a sander to sand down the rough edges of the logs and the base. However I did not touch the bark on the edges of the base since I wanted to keep that rustic looking. FINISHED!!
Materials Needed: -1 Scarf ( i used a square one, but you can use a regular one or an infinity scarf as well. I've heard from other photographers that the infinity scarves can get really warm, so I opted for a light almost sheer scarf.) -2 keyrings with clasps( i bought 2 cheap keyrings from the dollar store that have a clasp on them so I can change out my scarf if i want) -2 regular keyrings (Walmart sells them in packs of 2 in the automotive department) First I put the walmart plain keyring on my camera Then I took the scarf and folded it into a triangle and tied the ends to the dollar store keyring. I measured how long I wanted the strap and tied a single knot on the keyring. I had about 8 inches of scarf left over on each side and I didn't want it hanging down, so I tied another knot about 2 inches up from my first one, then I did a third knot (double knot) about another 2 inches up and tucked in the little tail. I also have a wrist strap I like to use, so I attached that to the walmart keyring as well :) And there you have it!!
|
AuthorI am a wife & mom to 2 beautiful children, Newborn Photographer, and DIY Prop maker. I am also a prop-aholic... as you will see in my posts! But best of all, i'm a sinner saved by God's grace! John 3:16 Archives
April 2016
Categories
All
|